PINK SAUCE PIZZA
03/14/19 — Heydon Hatcher
Recipe and Photos by Megan Winfrey
Beets are one of those veggies that I usually prepare as minimally as possible. It doesn't get much better than freshly roasted and chilled slices of beetroot- whether in a salad, dressed lightly on their own, or plain jane. Beets play a supporting role in this recipe, but lend an undeniable sweet and earthy flavor and a beautiful magenta color. Little ones will LOVE playing sous chef with this one, and you don't even have to tell them how healthy it is.
![]()
Pink Sauce Pizza
For the Beet Marinara:
Preheat the oven to 350. Wash and dry the beets, then put them in the middle of a sheet of foil.
Drizzle the beets with a little bit of olive oil and season with salt, then wrap the foil around them like a packet.
Place the packet on a baking sheet, and roast for about 30-45 minutes depending on the size of the beets, or until fork tender. Let the beets cool until they can be handled, then peel off the skin and chop semi-finely.
Heat a large skillet over medium-high heat. Add the onions and cook until translucent, then add the garlic and cook another 2 minutes or so. Next, add the beets and canned tomatoes along with the rest of the spices and mix well, breaking up any large tomato chunks with the back of your spoon. Bring to a boil, then reduce to simmer for about 20 minutes, then remove from the heat and set aside to cool.
Once cooled, use a handheld or countertop blender to puree the marinara.
For the pizza:
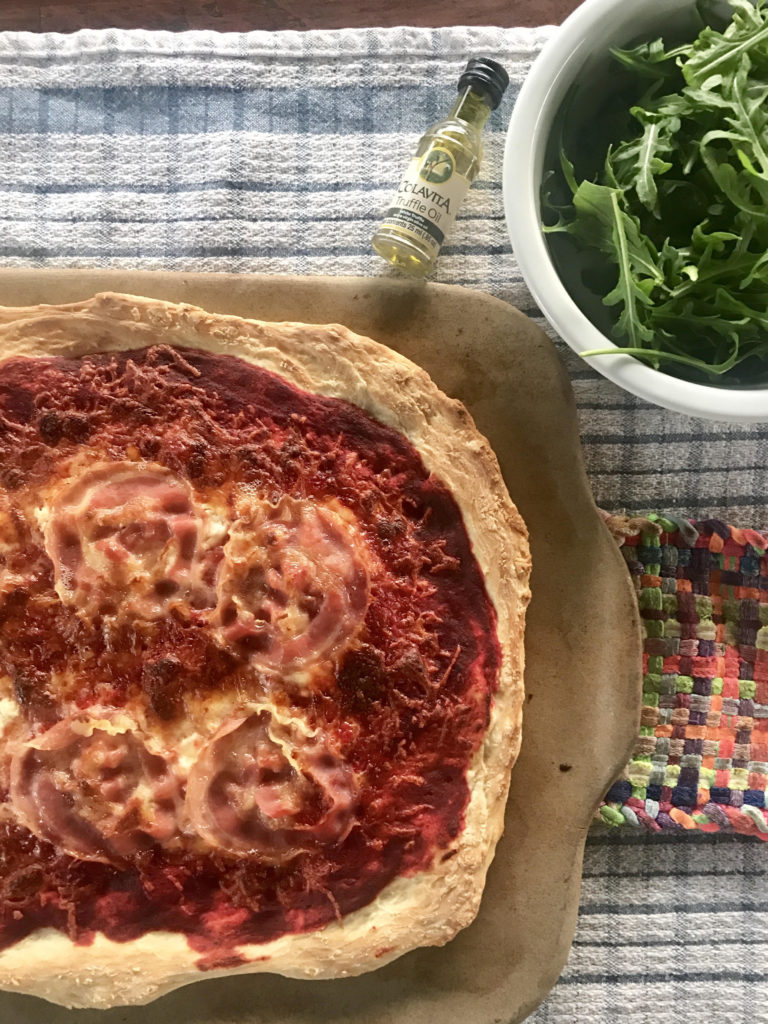
Prepare the pizza crust as you like. I used a store bought pizza dough mix and followed the instructions listed. Once the dough is pressed out onto a greased pizza stone or round pan, spread the beet marinara evenly over the dough. Follow with the shredded mozzarella cheese, then scatter dabs of goat cheese over that. Lay out the pancetta slices next, then bake on the lowest rack according to your dough instructions. I baked mine at 500 for 10 minutes. However you bake the pizza, I recommend finishing it off with a few minutes under the broiler to crisp up the pancetta a bit. Just keep an eye on it!
Let cool for a few minutes before slicing, and serve with truffle oil and arugula on the side for last minute toppings.
![]()
Beets are one of those veggies that I usually prepare as minimally as possible. It doesn't get much better than freshly roasted and chilled slices of beetroot- whether in a salad, dressed lightly on their own, or plain jane. Beets play a supporting role in this recipe, but lend an undeniable sweet and earthy flavor and a beautiful magenta color. Little ones will LOVE playing sous chef with this one, and you don't even have to tell them how healthy it is.
Pink Sauce Pizza
- 3 small beets or 1 large
- 1 small onion, diced
- 4 cloves garlic, minced
- 1 can tomatoes - diced, whole, or crushed
- 1 tsp. salt
- 1/2 tsp. dried oregano
- 1/2 tsp. dried thyme
- 1/2 tsp. black pepper
- 1/4 tsp. cayenne pepper
- 1 premade, boxed, or homemade pizza dough
- 1 cup mozzarella cheese
- several dabs of goat cheese
- 6 slices of pancetta
- Truffle oil
- Arugula
For the Beet Marinara:
Preheat the oven to 350. Wash and dry the beets, then put them in the middle of a sheet of foil.
Drizzle the beets with a little bit of olive oil and season with salt, then wrap the foil around them like a packet.
Place the packet on a baking sheet, and roast for about 30-45 minutes depending on the size of the beets, or until fork tender. Let the beets cool until they can be handled, then peel off the skin and chop semi-finely.
Heat a large skillet over medium-high heat. Add the onions and cook until translucent, then add the garlic and cook another 2 minutes or so. Next, add the beets and canned tomatoes along with the rest of the spices and mix well, breaking up any large tomato chunks with the back of your spoon. Bring to a boil, then reduce to simmer for about 20 minutes, then remove from the heat and set aside to cool.
Once cooled, use a handheld or countertop blender to puree the marinara.
For the pizza:
Prepare the pizza crust as you like. I used a store bought pizza dough mix and followed the instructions listed. Once the dough is pressed out onto a greased pizza stone or round pan, spread the beet marinara evenly over the dough. Follow with the shredded mozzarella cheese, then scatter dabs of goat cheese over that. Lay out the pancetta slices next, then bake on the lowest rack according to your dough instructions. I baked mine at 500 for 10 minutes. However you bake the pizza, I recommend finishing it off with a few minutes under the broiler to crisp up the pancetta a bit. Just keep an eye on it!
Let cool for a few minutes before slicing, and serve with truffle oil and arugula on the side for last minute toppings.

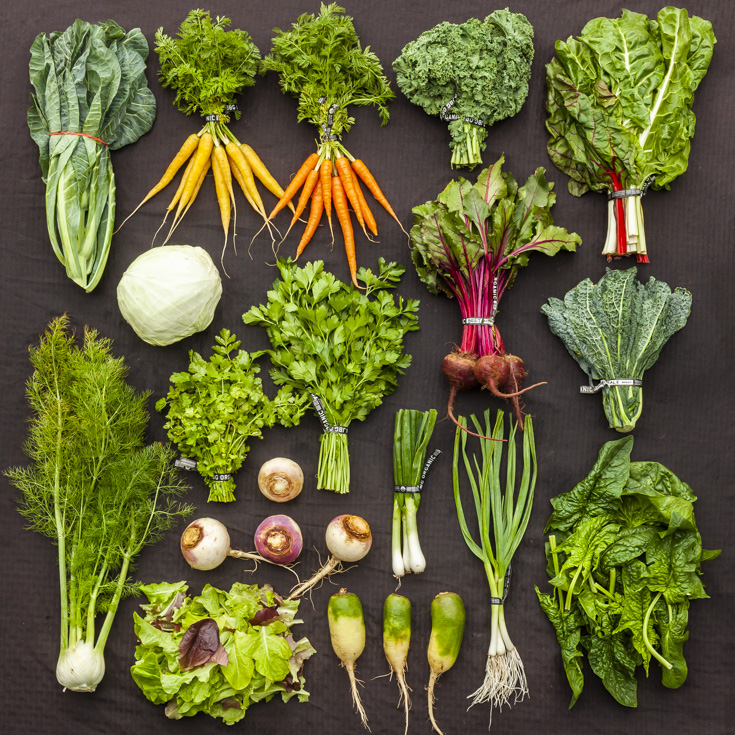
CSA BOX CONTENTS WEEK OF MAR 11TH
03/12/19 — Scott
 CSA Box Contents Week of Mar 11th
Large Box
Beet, Chioggia
Carrot, Red
Garlic, Green
Greens, Arugula
Greens, Chard, Rainbow
Greens, Kale, Curly
Herb, Spearmint
Lettuce, Romaine
Onion, Spring White
Radish, Red
Turnip, Rutabaga
Beet, Chioggia
Carrot, Red
Garlic, Green
Greens, Arugula
Greens, Chard, Rainbow
Greens, Kale, Curly
Herb, Spearmint
Lettuce, Romaine
Onion, Spring White
Radish, Red
Turnip, Rutabaga
Medium Box
Beet, Chioggia
Carrot, Orange
Greens, Collards
Greens, Kale, Curly
Greens, Spinach
Herb, Parsley, Curly
Lettuce, Romaine
Onion, Spring White
Radish, Red
Turnip, Rutabaga
Beet, Chioggia
Carrot, Orange
Greens, Collards
Greens, Kale, Curly
Greens, Spinach
Herb, Parsley, Curly
Lettuce, Romaine
Onion, Spring White
Radish, Red
Turnip, Rutabaga
Small Box
Beet, Red
Carrot, Orange
Greens, Chard, Rainbow
Greens, Kale, Curly
Greens, Spinach
Herb, Parsley, Curly
Beet, Red
Carrot, Orange
Greens, Chard, Rainbow
Greens, Kale, Curly
Greens, Spinach
Herb, Parsley, Curly
Individual Box
Beet, Red
Carrot, Orange
Greens, Collards
Greens, Kale, Curly
Greens, Salad Mix
Beet, Red
Carrot, Orange
Greens, Collards
Greens, Kale, Curly
Greens, Salad Mix
A QUICK UPDATE FROM THE FIELDS
03/08/19 — Heydon Hatcher
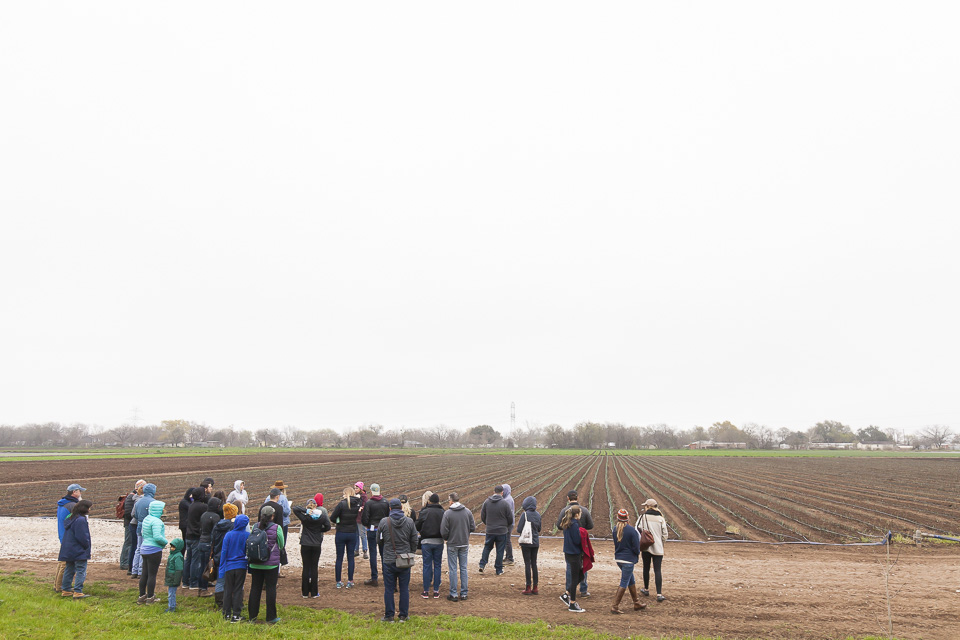
We are past the last and unseasonably harsh frost of the season, and happily shaking off the remnants of winter in preparation for a sunny spring! We started the spring planting season back in February with hardy veggies like turnips, radishes, lettuces, broccoli, and fennel. We had to refrain from planting the tender crops like okra, cucumbers, tomatoes, eggplant, peppers, and green beans as they cannot withstand the cold. With the scare of frost dissipated, we are full steam ahead getting all the tender spring darlings in the ground! We are in a transitional time which means markets will offer an extensive variety of lingering winter crops and early spring crops. Insider tip: this is the best time to be a part of the CSA, you get the best of two seasons. Join now!
![]() JBG fields. Photo by Scott David Gordon.
JBG fields. Photo by Scott David Gordon.
This Saturday is your LAST CHANCE to snag your JBG Transplants. Our greenhouse is full of certified organic transplants including heirloom tomatoes, sweet and hot peppers, and lots of herbs. We also have compost, tomato cages, and a bounty of gardening advice. Find more information here.![]() All these transplants could be yours! Photo by Scott David Gordon.
All these transplants could be yours! Photo by Scott David Gordon.
Also, mark your calendar for our upcoming Spring Potluck! This is perhaps the best way to celebrate the season with your friends and family. There will be a giant community potluck, live music, and tons for the kids to do. Come relax on the farm, and enjoy the beautiful Texas Spring! Grab tickets here.
![]() Potluck Fun in the Past. Photo by Scott David Gordon.
Potluck Fun in the Past. Photo by Scott David Gordon.
 JBG fields. Photo by Scott David Gordon.
This Saturday is your LAST CHANCE to snag your JBG Transplants. Our greenhouse is full of certified organic transplants including heirloom tomatoes, sweet and hot peppers, and lots of herbs. We also have compost, tomato cages, and a bounty of gardening advice. Find more information here.
- When: Saturday, March 9th
- Time: 9am until 2pm
- Where: 4008 River Road, Garfield, 78612
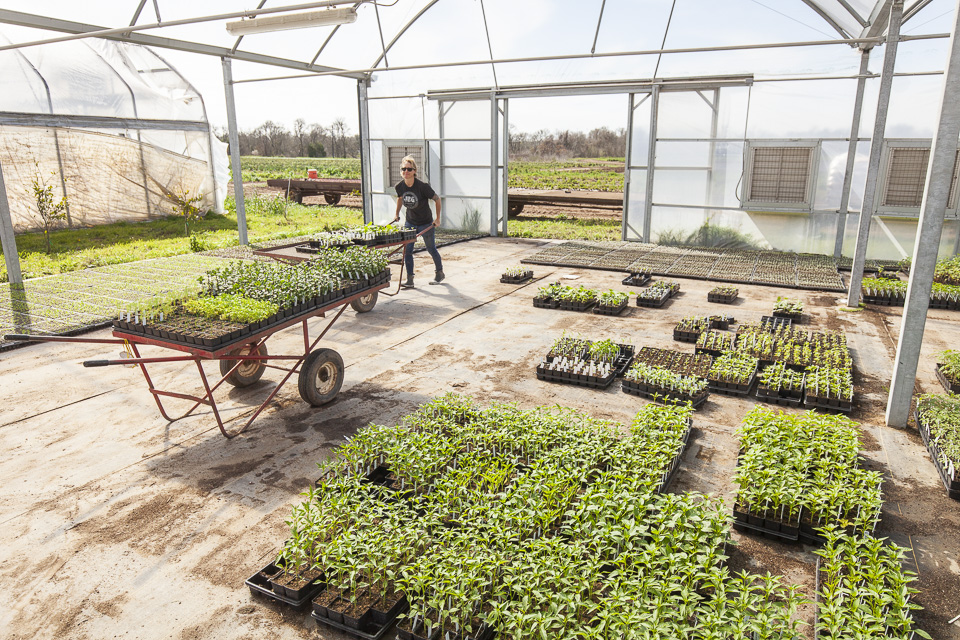 All these transplants could be yours! Photo by Scott David Gordon.
Also, mark your calendar for our upcoming Spring Potluck! This is perhaps the best way to celebrate the season with your friends and family. There will be a giant community potluck, live music, and tons for the kids to do. Come relax on the farm, and enjoy the beautiful Texas Spring! Grab tickets here.
 Potluck Fun in the Past. Photo by Scott David Gordon.
PHOTOS FROM THE FARM: 3.08.2019
03/08/19 — Heydon Hatcher
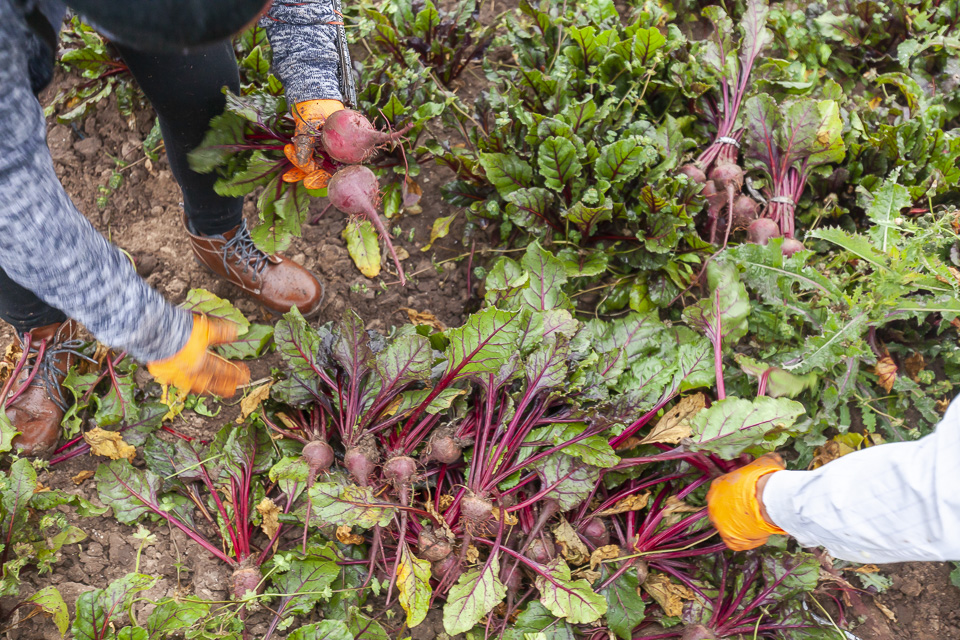 Beet harvest. Photo by Scott David Gordon.
It was a week of wildly differing temperatures. We are busy planting the tender crops now that the last frost date has passed and harvesting as always. Come see us this weekend at our last transplant sale. Find more information here.
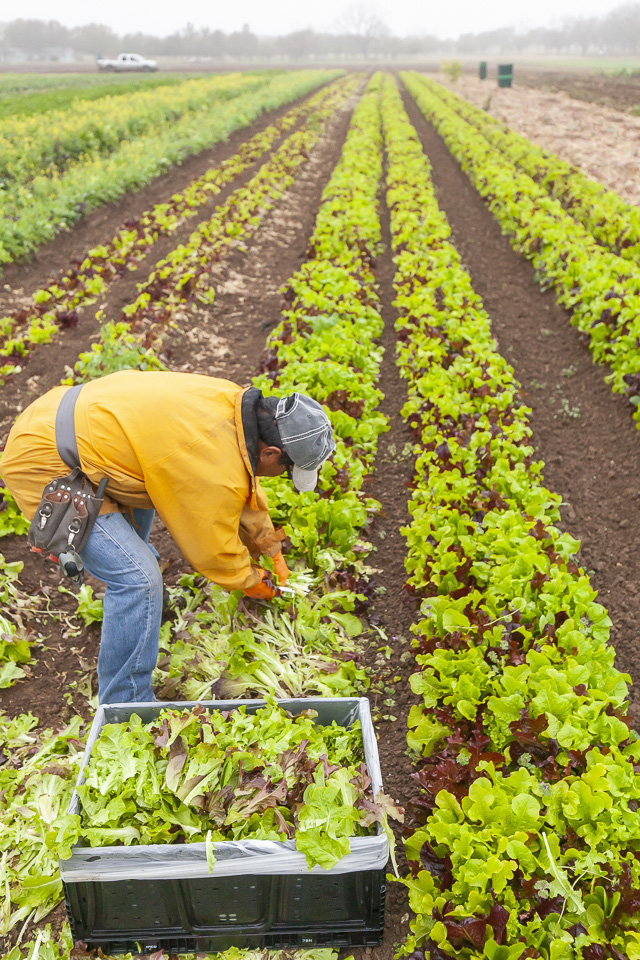 Lettuce harvest. Photo by Scott David Gordon.
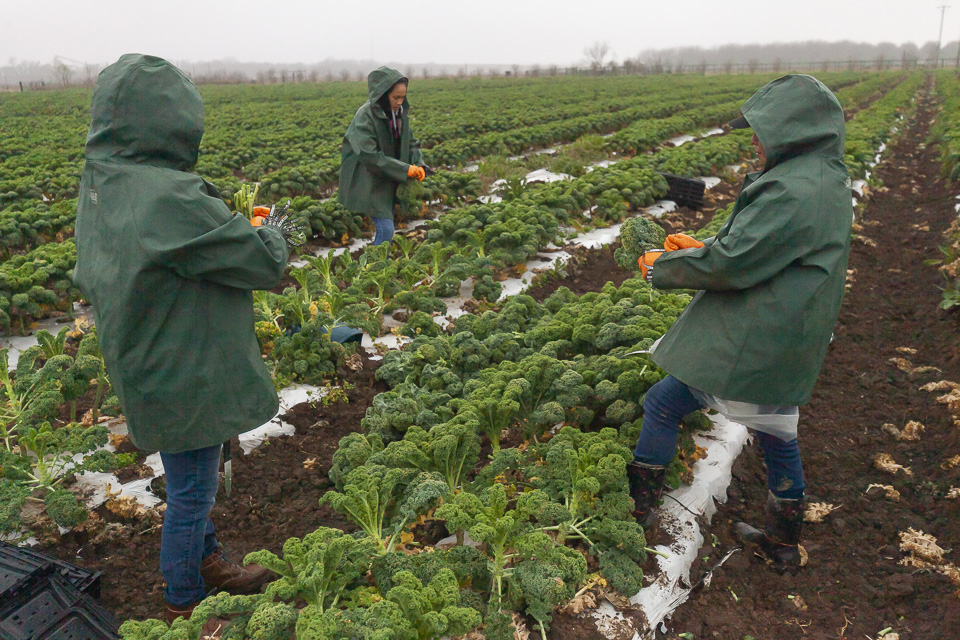 Kale team. Photo by Scott David Gordon.
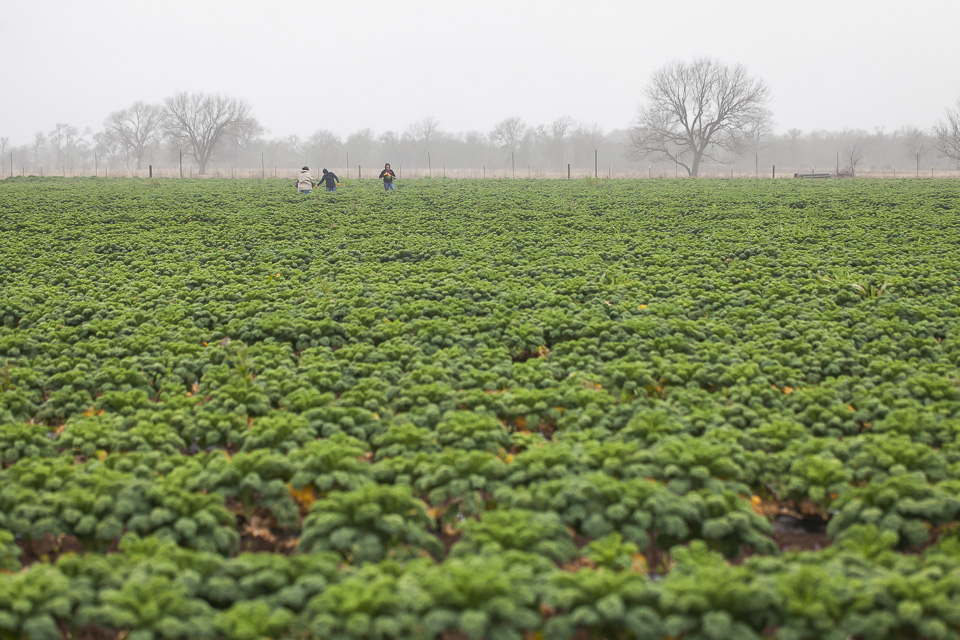 Kale team. Photo by Scott David Gordon.
 Dandelion greens. Photo by Scott David Gordon.
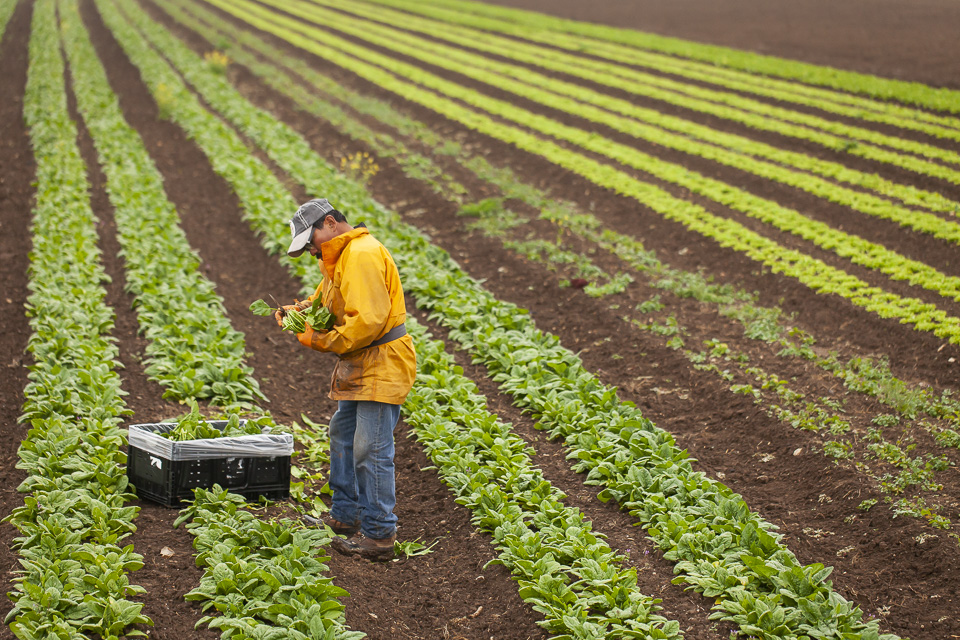 Spinach harvest. Photo by Scott David Gordon.
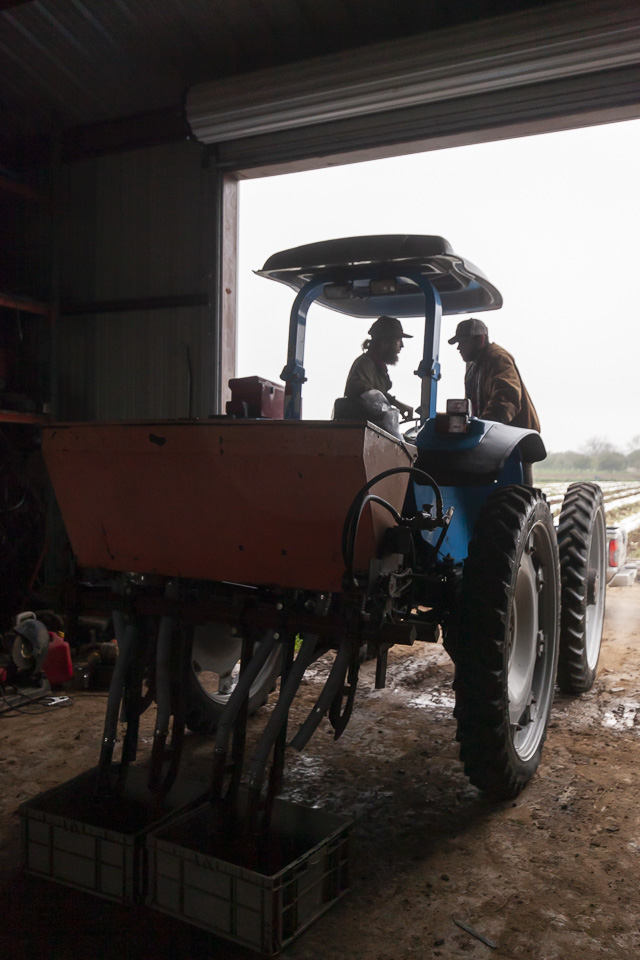 Tractor work. Photo by Scott David Gordon.
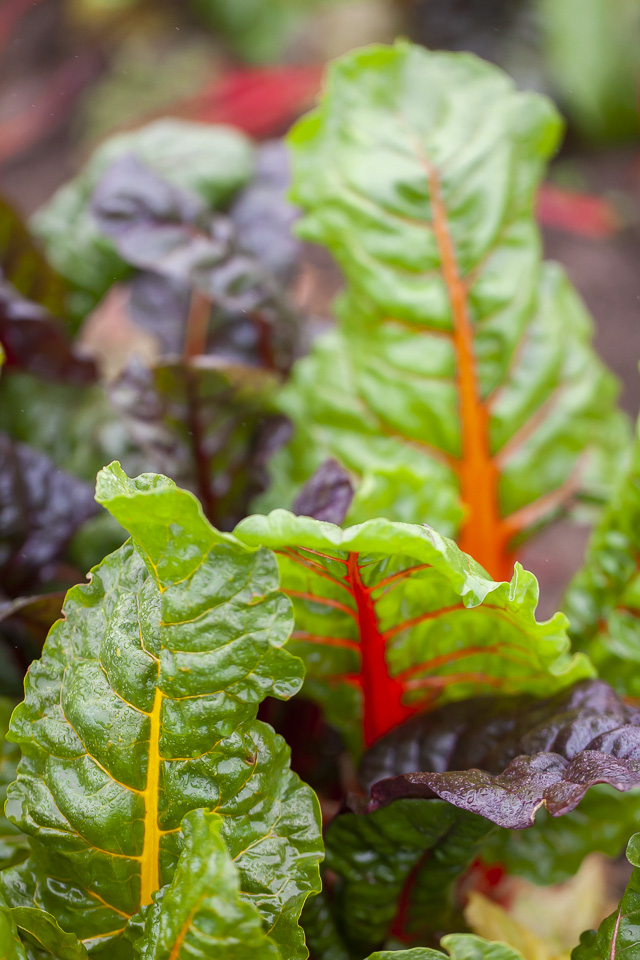 Rainbow chard. Photo by Scott David Gordon.
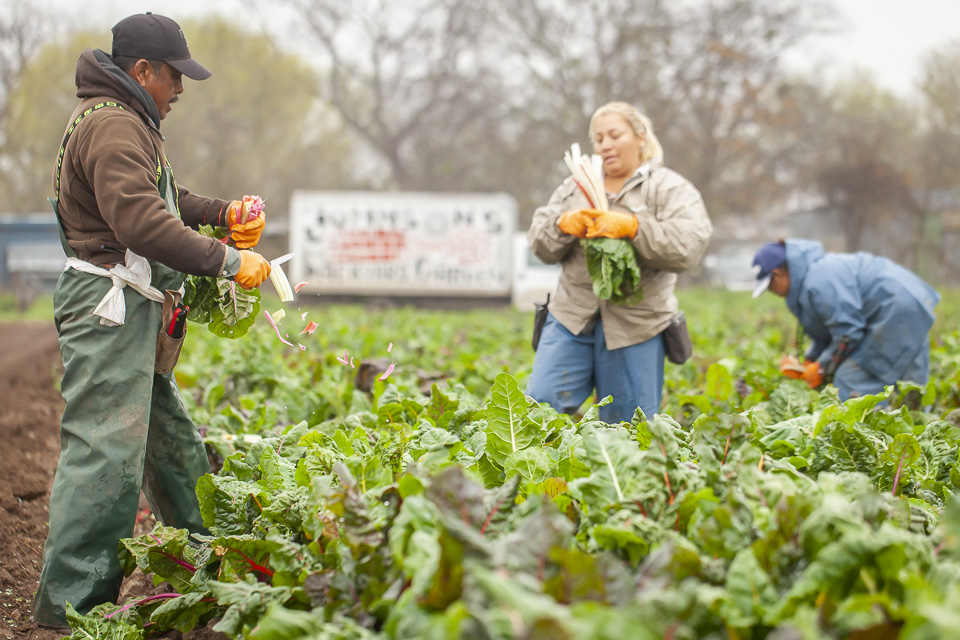 Rainbow chard harvest. Photo by Scott David Gordon.
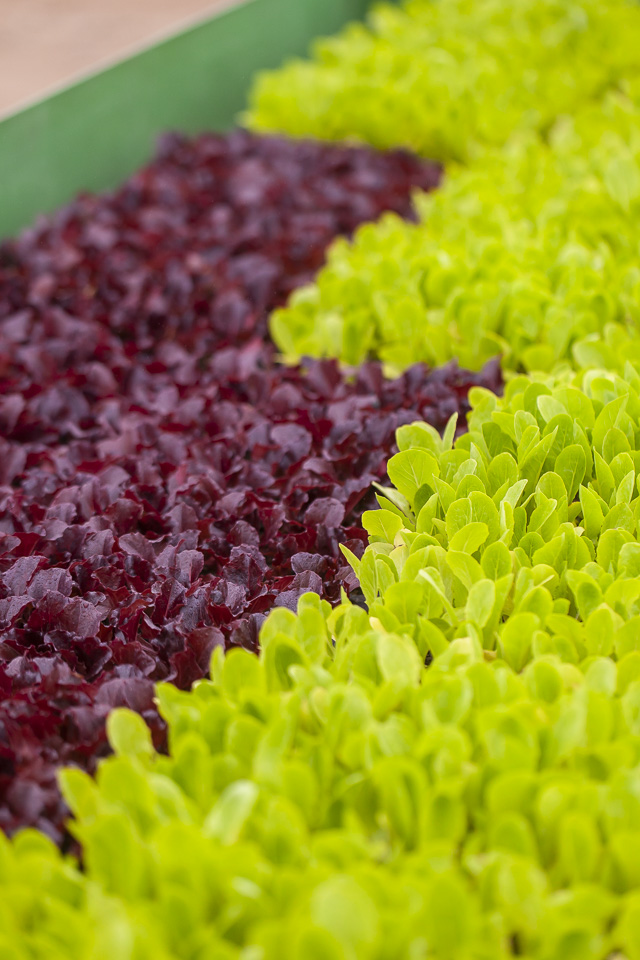 Transplant gradient. Photo by Scott David Gordon.
 Working together. Photo by Scott David Gordon.
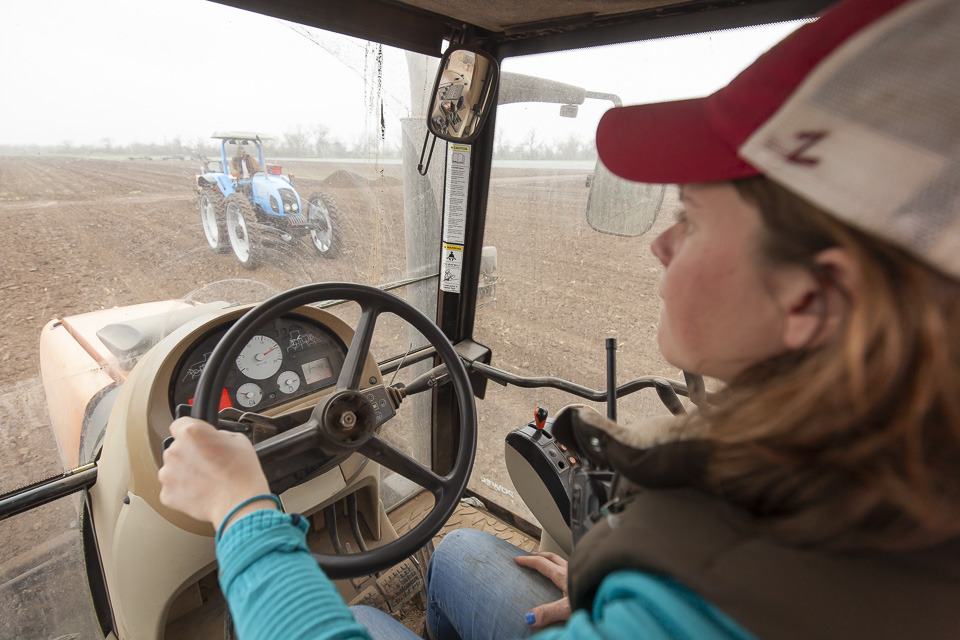
 At the helm. Photo by Scott David Gordon.
HALF 'N HALF KALE SALAD WITH SCALLIONS AND MAPLE
03/07/19 — Heydon Hatcher
Recipe and Photo by Mackenzie Smith Kelley
This recipe is my all-time favorite way to prepare kale. I love getting the health benefits of raw kale while also enjoying the crispy, smoky bits from marrying the two.
Here, charred kale cooks down to about half its original mass. When it is added to the bowl with the raw kale, the uncooked half is ever-so-slightly steamed by the hot kale, offering what looks like a smaller yield overall— a.k.a. the most flavorful way to put two times the kale into my body in just one sitting. The trick to charring kale is making sure it is dry when it goes into the pan and leaving it alone for longer than you think you should before stirring it. This version features chopped scallions and maple syrup, but it works just as well with other alliums. The maple syrup is totally optional, but I really love the way it caramelizes in the pan, offering an alternate way to “dress” your greens.
![]() Photo by Mackenzie Smith Kelley.
Photo by Mackenzie Smith Kelley.
In a skillet, heat olive oil or ghee until water sizzles when you add a few drops to the pan. Add half of the chopped kale and the white part of the scallions to the pan of hot oil, and stir once before leaving it alone for 3-4 minutes.
In the bowl, you will serve your salad, squeeze half a lemon over the remaining kale and sprinkle with salt. Mix the salted lemon kale and let sit while you check on the kale in the pan. Turn a big piece of kale on the edge of the skillet to see if it has achieved a crispy brown bottom. If it hasn’t, give it another minute or two before stirring.
Once the kale is ready to stir, leave it again for another few minutes so the rest of it can crisp in the pan. When all of the kale has reached almost maximum crisp factor, pour the maple syrup into the pan and cook on high stirring often, until it has evaporated... about 30 seconds. Maple candied kale, yeah!
Transfer the charred kale to the bowl with the raw kale, and let it sit for a minute or so before you stir it all together. This allows the steam to evaporate from the hot kale before you stir it into the kale underneath, which slightly wilts the raw kale with lemon juice before tossing it together.
This recipe is my all-time favorite way to prepare kale. I love getting the health benefits of raw kale while also enjoying the crispy, smoky bits from marrying the two.
Here, charred kale cooks down to about half its original mass. When it is added to the bowl with the raw kale, the uncooked half is ever-so-slightly steamed by the hot kale, offering what looks like a smaller yield overall— a.k.a. the most flavorful way to put two times the kale into my body in just one sitting. The trick to charring kale is making sure it is dry when it goes into the pan and leaving it alone for longer than you think you should before stirring it. This version features chopped scallions and maple syrup, but it works just as well with other alliums. The maple syrup is totally optional, but I really love the way it caramelizes in the pan, offering an alternate way to “dress” your greens.
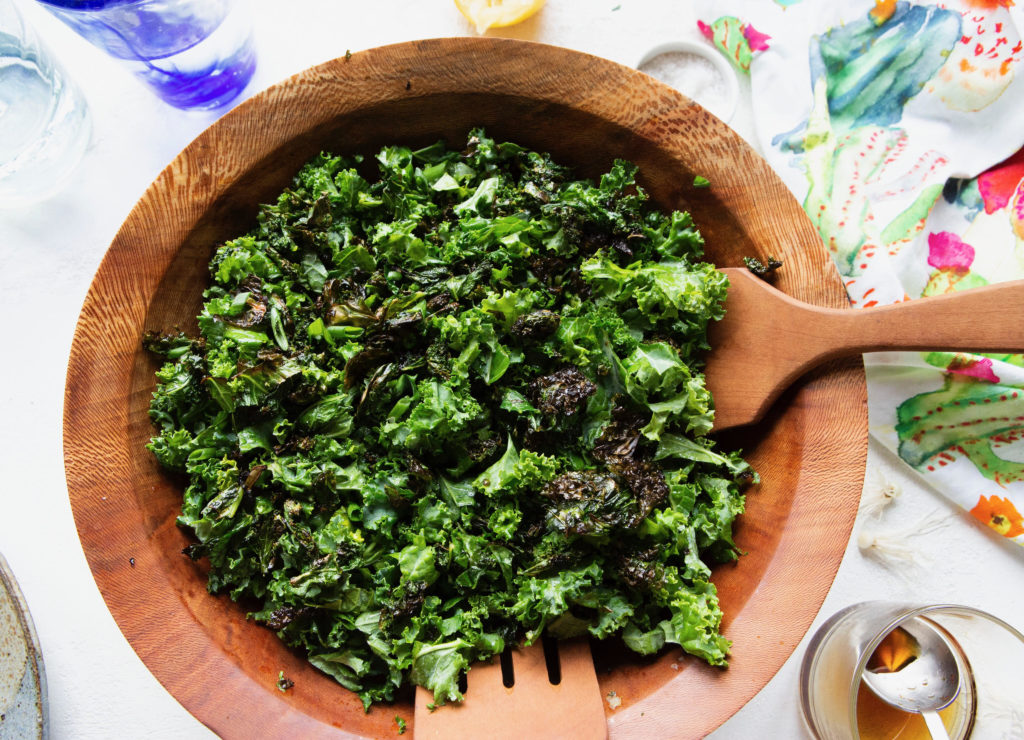 Photo by Mackenzie Smith Kelley.
- Two bunches of kale
- 2 scallions, thinly sliced
- Juice from a whole lemon
- Salt
- About two tablespoons of maple syrup
In a skillet, heat olive oil or ghee until water sizzles when you add a few drops to the pan. Add half of the chopped kale and the white part of the scallions to the pan of hot oil, and stir once before leaving it alone for 3-4 minutes.
In the bowl, you will serve your salad, squeeze half a lemon over the remaining kale and sprinkle with salt. Mix the salted lemon kale and let sit while you check on the kale in the pan. Turn a big piece of kale on the edge of the skillet to see if it has achieved a crispy brown bottom. If it hasn’t, give it another minute or two before stirring.
Once the kale is ready to stir, leave it again for another few minutes so the rest of it can crisp in the pan. When all of the kale has reached almost maximum crisp factor, pour the maple syrup into the pan and cook on high stirring often, until it has evaporated... about 30 seconds. Maple candied kale, yeah!
Transfer the charred kale to the bowl with the raw kale, and let it sit for a minute or so before you stir it all together. This allows the steam to evaporate from the hot kale before you stir it into the kale underneath, which slightly wilts the raw kale with lemon juice before tossing it together.
CSA BOX CONTENTS WEEK OF MAR 4TH
03/04/19 — Scott
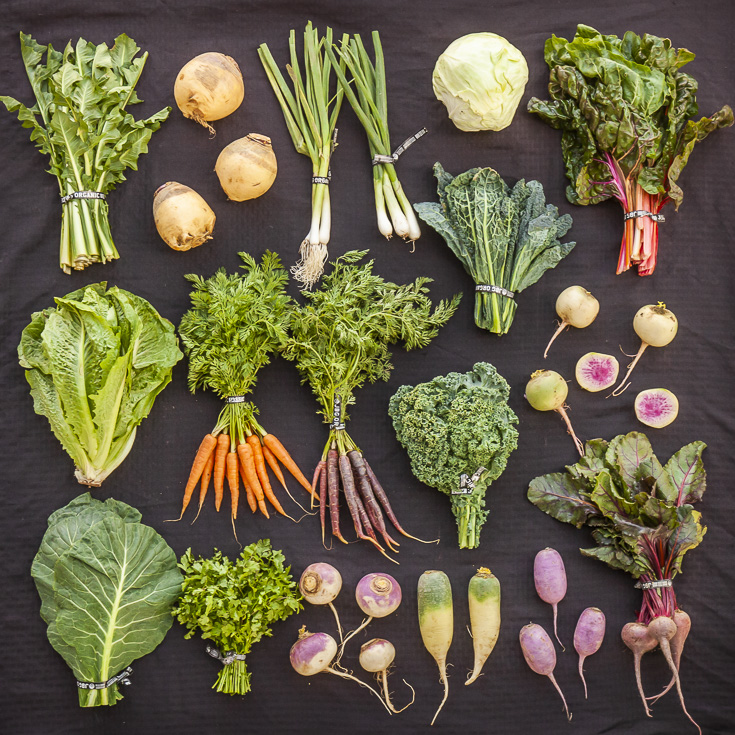 CSA Box Contents Week of Mar 4th
Large Box
Beets X 2
Cabbage
Carrot, Orange
Greens, Collards X 2
Greens, Kale, Curly
Greens, Spinach
Herb, Fennel
Herb, Parsley, Flat
Onion, Spring White
Radish, Green Daikon
Turnip, White Japanese
Beets X 2
Cabbage
Carrot, Orange
Greens, Collards X 2
Greens, Kale, Curly
Greens, Spinach
Herb, Fennel
Herb, Parsley, Flat
Onion, Spring White
Radish, Green Daikon
Turnip, White Japanese
Medium Box
Beets X 2
Cabbage
Carrot, Orange
Greens, Collards
Greens, Kale, Curly
Greens, Spinach
Herb, Parsley, Flat
Onion, Spring White
Radish, Green Daikon
Turnip, White Japanese
Beets X 2
Cabbage
Carrot, Orange
Greens, Collards
Greens, Kale, Curly
Greens, Spinach
Herb, Parsley, Flat
Onion, Spring White
Radish, Green Daikon
Turnip, White Japanese
Small Box
Cabbage
Carrot, Rainbow
Garlic, Green
Greens, Collards
Greens, Kale, Dino
Greens, Salad Mix
Onion, Spring White
Cabbage
Carrot, Rainbow
Garlic, Green
Greens, Collards
Greens, Kale, Dino
Greens, Salad Mix
Onion, Spring White
Individual Box
Beets
Cabbage
Carrot, Rainbow
Garlic, Green
Greens, Chard, Rainbow
Greens, Collards
Beets
Cabbage
Carrot, Rainbow
Garlic, Green
Greens, Chard, Rainbow
Greens, Collards
PHOTOS FROM THE FARM: 3.01.2019
03/01/19 — Heydon Hatcher
 Photo by Scott David Gordon.
The first weekend of the JBG Transplant Sale was a hit with gorgeous weather to boot! We are looking forward to another amazing Saturday sale this weekend. Come visit us! Have you reserved your tickets for the Organic Gardening Workshop happening this weekend? Our stellar and immensely knowledgeable farm manager, Becky, will be hosting a workshop designed to equip Central Texas gardeners with the tools they need to plan and execute a successful spring vegetable garden from 10 am to noon on Saturday in conjunction with the sale. It is designed for novice and experienced gardeners, alike. All workshop participants will get 10% off their transplant purchases, too! Yeehaw! Buy tickets here.
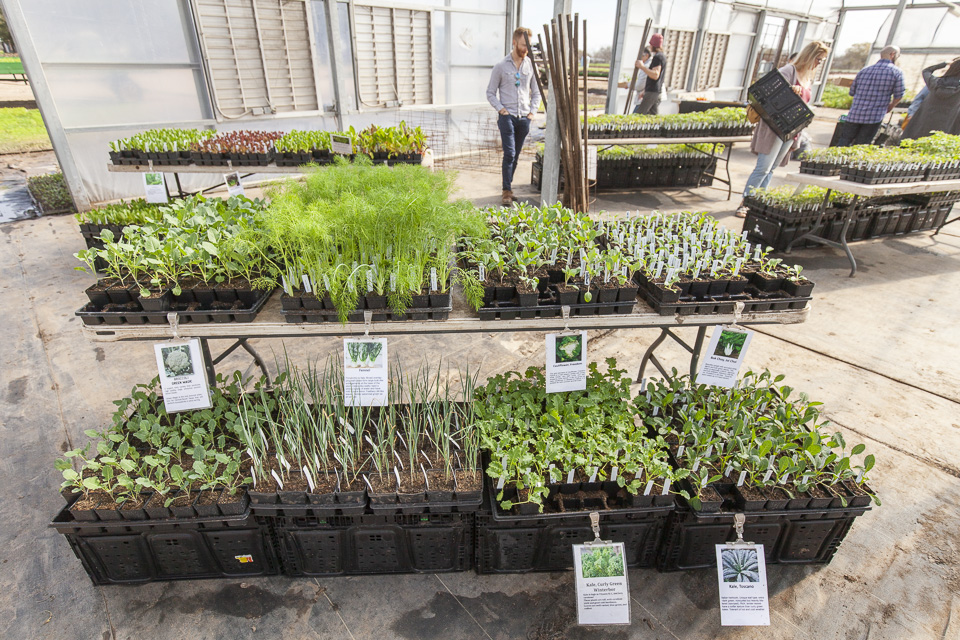 Photo by Scott David Gordon.
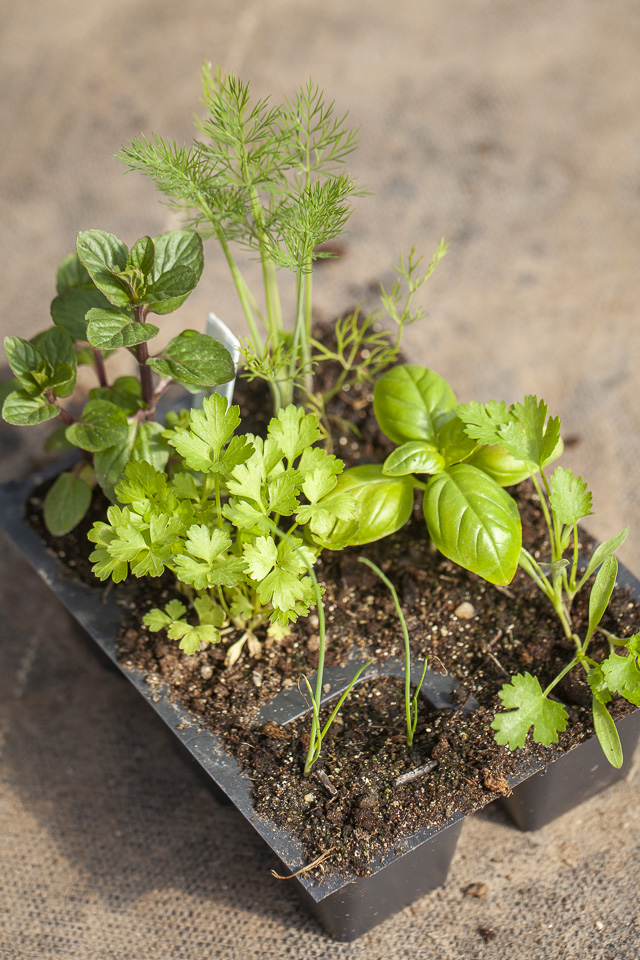 Transplants! Photo by Scott David Gordon.
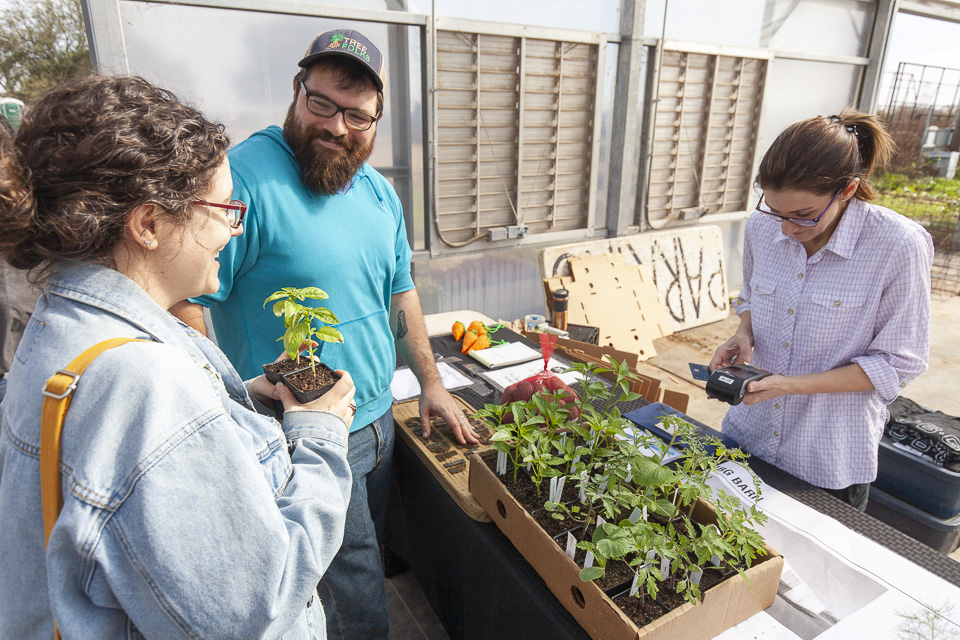 Gardeners! Photo by Scott David Gordon.
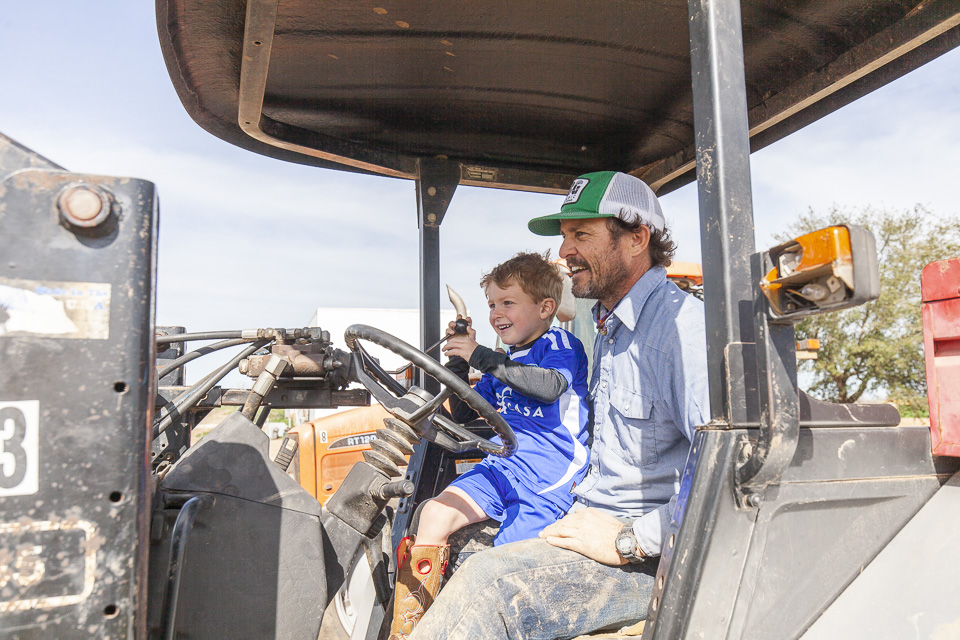 A young farmer. Photo by Scott David Gordon.
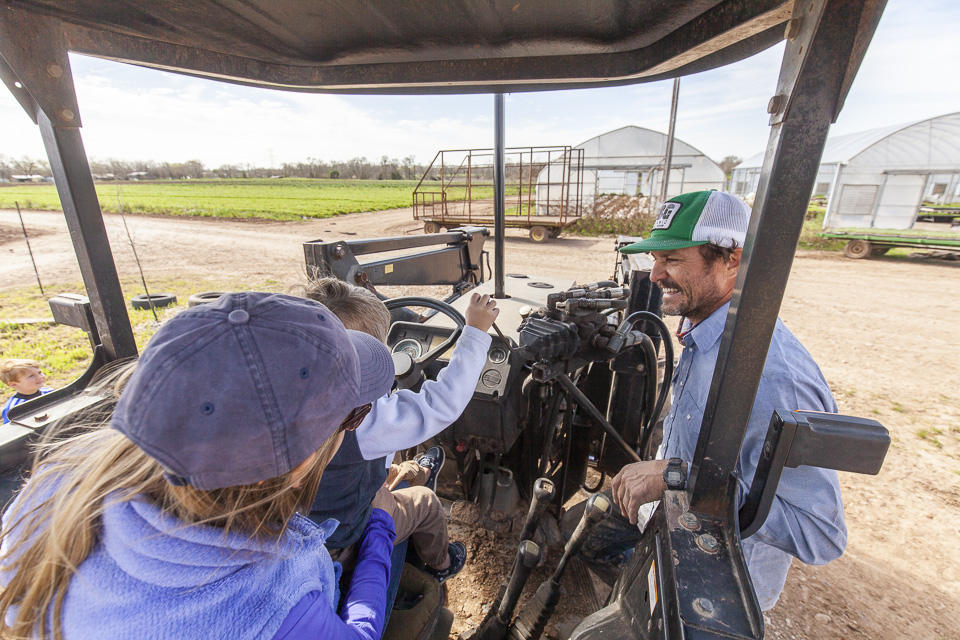 Learning farmer ways. Photo by Scott David Gordon.
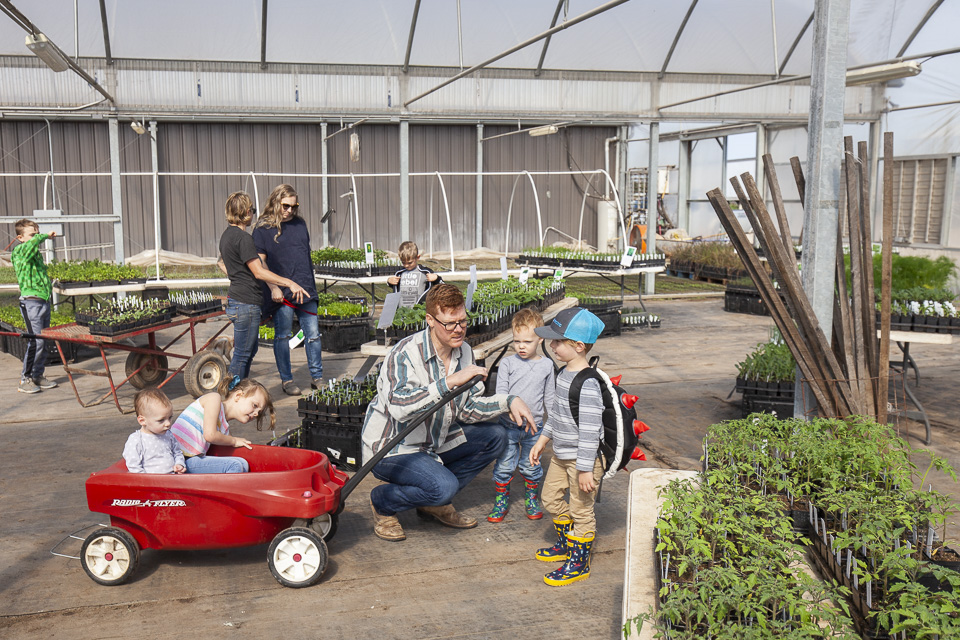 Future farmers! Photo by Scott David Gordon.
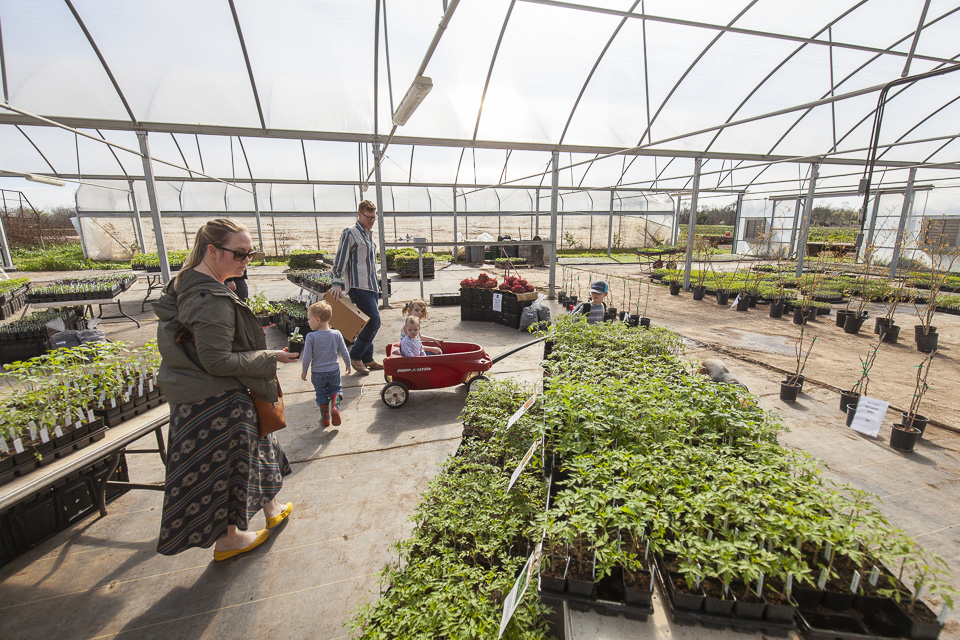 Photo by Scott David Gordon.
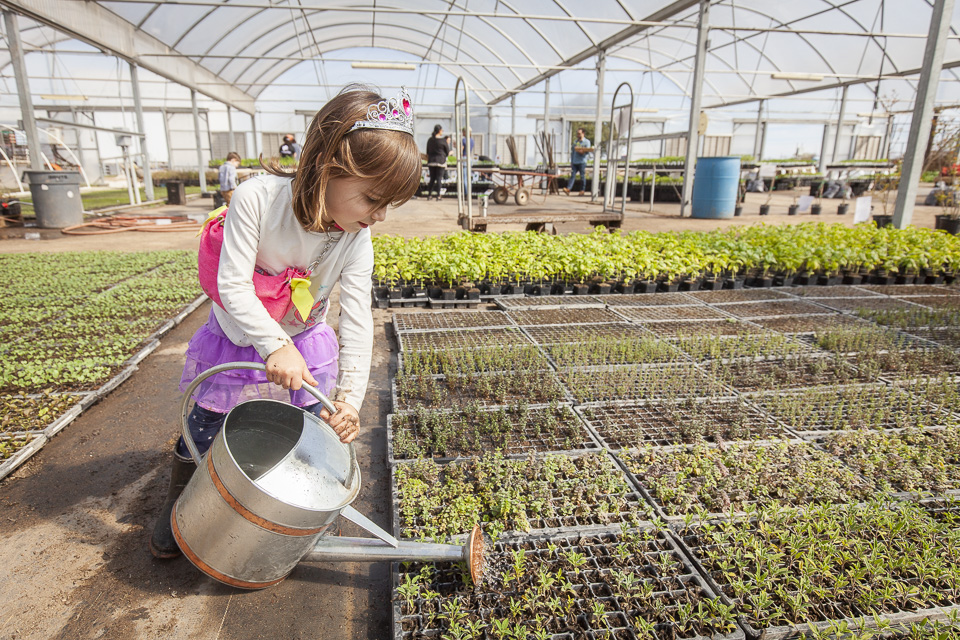 Keeping the transplants hydrated. Photo by Scott David Gordon.
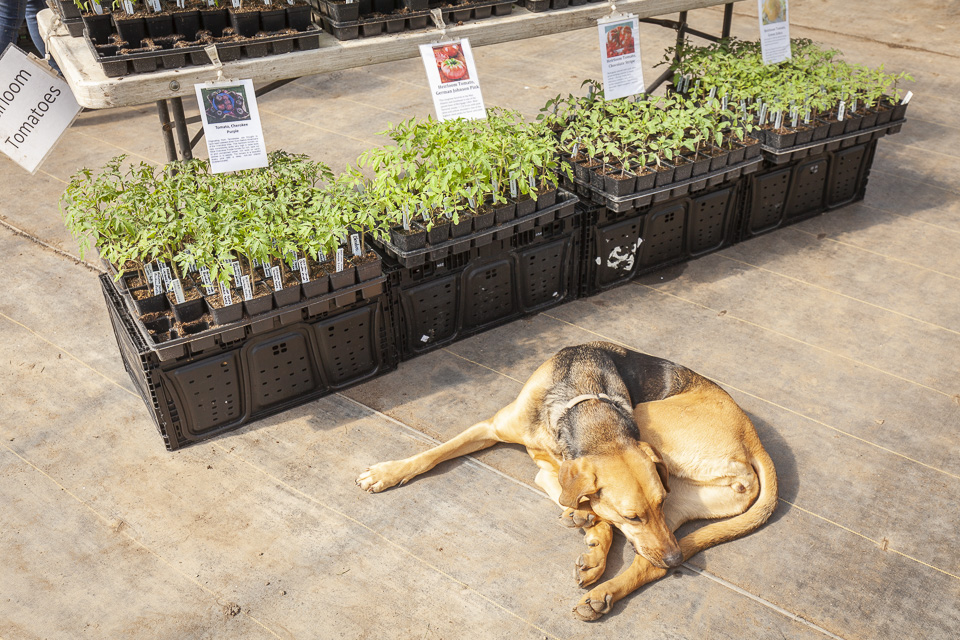 Roxy napping by the baby crops. Photo by Scott David Gordon.
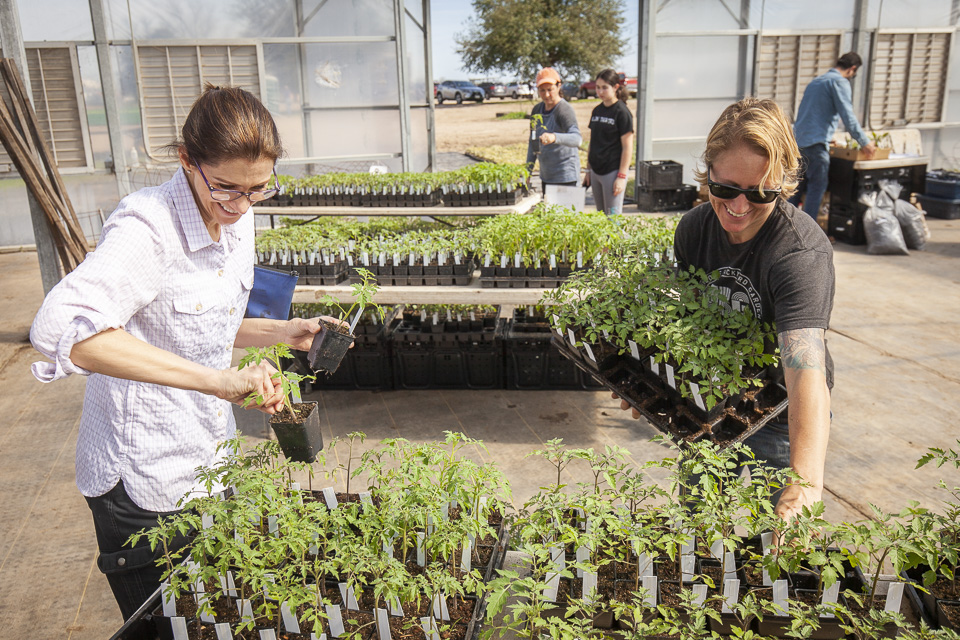 Transplant fun! Photo by Scott David Gordon.
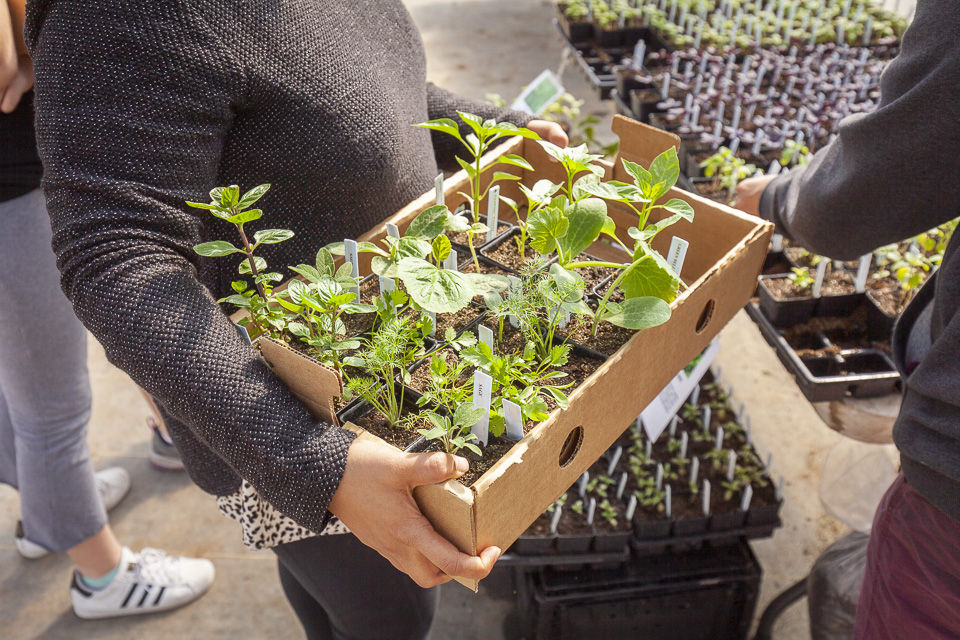 Transplant loot. Photo by Scott David Gordon.
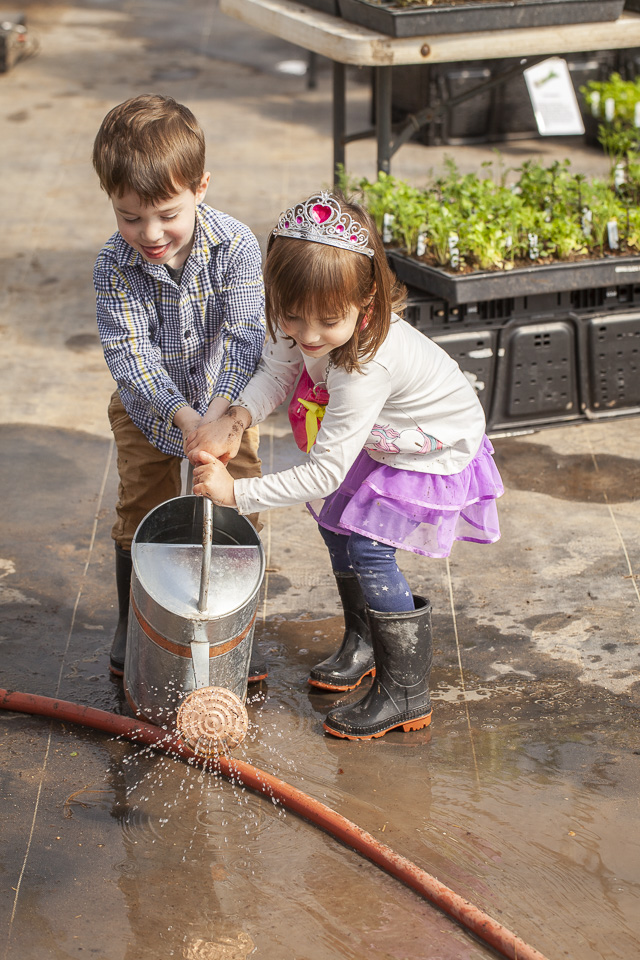 FUN! Photo by Scott David Gordon.


 0 ITEMS IN CART
